Hi there! #WeAreArkana and we will talk about Overprint (OVP) T-shirts here.🤓 This blog is going to be a bit long so please enjoy yourself while reading this!🍿
Did you know that the first printed t-shirt was created in 1939 to promote the movie “The Wizard of Oz”!
But, Have you ever seen a t-shirt with a design that covers the entire shirt, including the sleeves and the back? That’s an all-over print or overprint t-shirt, and it’s a unique and eye-catching style that has become increasingly popular in recent years.
Unlike regular t-shirts, where the design is usually limited to the front and back, overprint t-shirts are printed with a design that covers the entire surface of the shirt. The printing process is a bit more complicated than standard t-shirt printing, but the result is a one-of-a-kind shirt that is sure to turn heads.
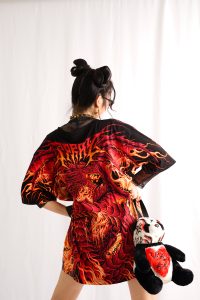
One of the benefits of overprint t-shirts is that they allow for more complex and intricate designs. Because the design can be printed across the entire shirt, there is more space to work with and more room for creativity. This means that you can really let your imagination run wild when designing your own custom overprint t-shirt.
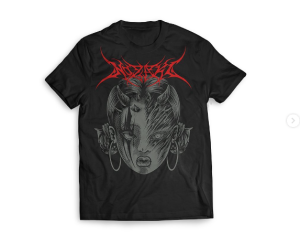

Creating an overprint t-shirt is a bit more complicated, but the end result is worth it. Here’s a step-by-step breakdown of the process:
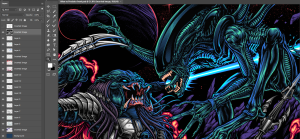
1. Design your artwork: The first step is to create or choose the design you want to print on your t-shirt. We can do this by using graphic design software or by hand drawing the design and then scanning it into the computer.
2. Choose your printing method: There are several printing methods available, such as screen printing, digital printing, heat transfer, and sublimation printing. Each method has its own advantages and disadvantages, so it’s important to choose the one that suits your needs and budget.
3. Choose your t-shirt: Next, choose the type and color of t-shirt you want to print on. The fabric and color of the shirt can affect the final result of the printing process, so choose wisely.
4. Prepare your artwork: Once you have your design and printing method selected, it’s time to prepare the artwork for printing. This may involve separating the design into separate color layers or converting it into the proper file format for printing.
5. Print your design: Now it’s time to print the design onto the t-shirt. Depending on the printing method you’ve chosen, this could involve setting up a screen for screen printing, using a heat press for heat transfer, or using a specialized printer for digital or sublimation printing.
6. Cure the ink: After the design has been printed onto the t-shirt, the ink needs to be cured to ensure it adheres properly to the fabric. This may involve placing the shirt in a heat press or oven for a certain amount of time.
7. Quality check and finishing: Finally, inspect the printed t-shirt to ensure it meets your standards. Remove any excess ink or debris and prepare it for packaging and delivery.

With these steps, you can create your own unique printed t-shirts. Just remember to choose high-quality materials and printing methods for the best results.
#funfact Did you know that the first graphic t-shirt was created in the 1950s? It was the iconic “I ♥ NY” logo and became an instant hit with tourists visiting New York City.

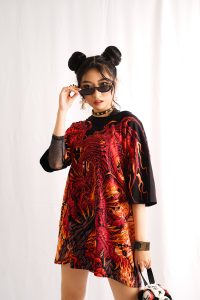
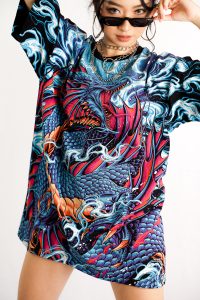
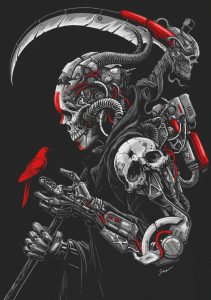
Let’s get back to the overprint t-shirt. Now that you know what overprint t-shirts are and how to make it, let’s take a look at some of the designs. From funky patterns to pop culture references, there’s an overprint t-shirt out there for everyone.
Here are a few examples:
If you’re looking for a unique and creative way to express your personal style, an overprint t-shirt might be just what you need. With endless design possibilities, the only limit is your imagination. So why not give it a try and create your own custom overprint t-shirt today?
Are you interested to talk about stuff like this with us? Please email us at arkakanaillustrations@gmail.com to discuss anything you like!


